
Bright & Creamy Butternut Squash Soup Recipe
Silky smooth, perfectly spiced, and bright enough to cut through the cozy - this is the soup that earns a permanent spot on your fall rotation.

I'll be honest with you: I was never a big soup person. I liked eating it, sure, but making it felt like a project — all that peeling and simmering and "is this done yet?" energy I didn't have on a Tuesday. Then I made this butternut squash soup for the first time and my oldest looked up from his bowl, said "Mom, this is actually really good," and asked if we could have grilled cheese with it every time. High praise from a teenager. We've had it with grilled cheese every time since.
What I love most is that the whole thing comes together in one pot and an immersion blender. My immersion blender is genuinely one of my most-used kitchen tools — I've had it for years and use it constantly — and this soup is why. No transferring scalding hot liquid to a countertop blender in batches, no risk of the lid exploding off (we've all been there), no extra dishes. You cook everything in the pot, lower the blender right in, and in about 30 seconds you have the silkiest, creamiest soup. It's so smooth it almost doesn't look real.
The "bright" in the name comes from a squeeze of lemon juice at the end — just enough acid to keep this from tasting flat and heavy. Butternut squash is naturally sweet and earthy, and without something to balance it, the soup can taste like it needs something you can't name. The lemon is the thing. It wakes everything up without tasting lemony. Try it once and you'll never make butternut squash soup without it again.
This post contains affiliate links. If you purchase through them I may earn a small commission at no extra cost to you.
→ How to Blend (Immersion vs. Countertop)
→ Tips & Variations
→ Storage & Make-Ahead
Prep Time: 10 minutes | Cook Time: 30 minutes | Total Time: 40 minutes
Servings: 6
Calories: ~220 per serving (without toppings)
Protein: ~5g per serving (boost to 12g+ with Greek yogurt — see Variations)
Gluten-Free | Vegetarian Option Available | Make-Ahead Friendly
WHY YOU'LL LOVE THIS SOUP
Five reasons this soup earns a permanent spot in your rotation:
One pot + one blender, that's it. No roasting pans, no transfers, no mess. Everything cooks in the same pot and your immersion blender does the rest. Weeknight-friendly from start to finish.
It's silky smooth in under 5 minutes of blending. The texture is what gets people. It doesn't taste like pureed vegetables — it tastes like something you'd order at a restaurant. The immersion blender is the secret weapon here.
That squeeze of lemon at the end changes everything. One small move that takes this from "good soup" to "what's IN this soup?" The brightness cuts through the richness in the best possible way.
It's genuinely great for meal prep. This soup reheats perfectly, freezes beautifully, and tastes better on day two. Make a big pot Sunday, eat well all week.
Serve it with grilled cheese and you have the best dinner of the week. Ask my oldest. He'll confirm.
Ingredients
The Soup
1 large butternut squash (about 3 lbs), peeled, seeded, and cut into 1-inch cubes
2 tablespoons olive oil
1 medium yellow onion, roughly chopped
4 cloves garlic, smashed (don't bother mincing — it all gets blended)
4 cups chicken broth or vegetable broth
½ cup heavy cream
1 teaspoon kosher salt, plus more to taste
½ teaspoon black pepper
¼ teaspoon ground nutmeg
¼ teaspoon ground cinnamon
Juice of ½ lemon (about 1 tablespoon — don't skip this)
For Serving (optional but recommended)
A swirl of heavy cream or coconut cream
Pepitas (roasted pumpkin seeds)
Fresh sage leaves or flat-leaf parsley
A drizzle of olive oil
Grilled cheese. Seriously.
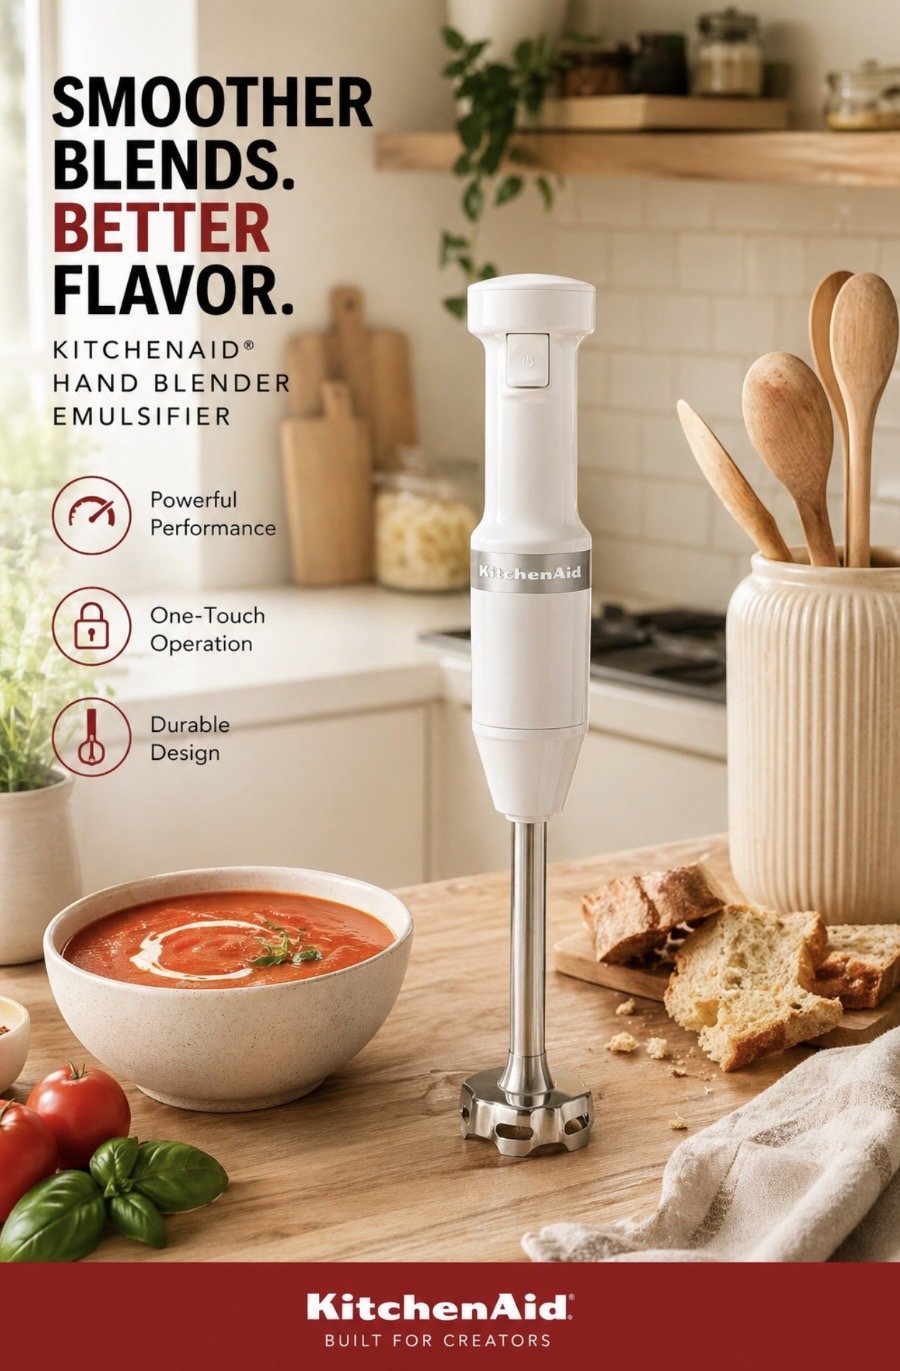
The Tool That Makes This Soup
I've had my immersion blender for years and this soup is half the reason. No hot liquid transfers, no lid explosions, no extra dishes — just stick it in the pot and blend. Thirty seconds to silky. If you don't have one yet, this recipe is the excuse you needed.
Ingredient Notes & Substitutions
Butternut squash: You can buy it pre-cubed at most grocery stores — this is not cheating, this is a great use of your time. Pre-cut squash from the produce section works perfectly here. You need about 5–6 cups of cubed squash.
Broth: Chicken broth gives a richer flavor; vegetable broth keeps it fully vegetarian. Either works. Low-sodium broth gives you better control over the salt level.
Heavy cream: Swap with full-fat coconut milk for a dairy-free or vegan version — it's genuinely delicious and adds a subtle sweetness that works beautifully with the squash. See the Variations section.
Olive oil: Any neutral cooking oil works fine — avocado oil, butter (for a richer base), or ghee.
Lemon juice: Fresh is best here. Bottled lemon juice is fine but the flavor is less bright. Half a lemon is all you need.
INSTRUCTIONS
1. Sauté the onion. Heat 2 tablespoons of olive oil in a large Dutch oven or soup pot over medium heat. Add the diced onion and cook 5–6 minutes, stirring occasionally, until softened and translucent. Don't rush this step — the onion builds the base flavor of the whole soup.
2. Add the garlic. Add the smashed garlic cloves and cook 1 minute until fragrant. It should smell really good in your kitchen right about now.
3. Add squash, broth, and spices. Add the cubed butternut squash, broth, salt, pepper, nutmeg, and cinnamon to the pot. Stir to combine. Bring to a boil over medium-high heat.
4. Simmer until the squash is completely tender. Once boiling, reduce heat to medium-low, cover the pot, and simmer for 20–25 minutes. The squash is ready when it's very soft and pierces easily with a fork — no resistance at all. If it still has any firmness, give it 5 more minutes.
5. Blend until silky smooth. Remove the pot from heat. This is where your immersion blender earns its keep. Lower it into the pot and blend, moving it around the bottom and sides of the pot, until the soup is completely smooth — no chunks, no texture, just silky. This takes about 30–60 seconds. (See the How to Blend section below if you're using a countertop blender.)
6. Stir in the cream and lemon juice. With the pot back on low heat (or off heat entirely), stir in the heavy cream and lemon juice. Give it a taste. Adjust salt and pepper as needed. This is where the soup goes from good to great — don't skip the tasting step.
7. Serve and top as you like. Ladle into bowls and add whatever toppings appeal to you. A swirl of cream, a handful of pepitas, and some fresh sage is the move. And yes, make the grilled cheese. You'll thank yourself.
HOW TO BLEND - IMMERSION BLENDER vs. COUNTERTOP BLENDER
Immersion Blender (My Method — Highly Recommended)
An immersion blender — also called a stick blender or hand blender — goes directly into the pot. No transferring, no multiple batches, no hot soup splashing. This is the way.
How to use it:
Remove the pot from heat and let it sit for 2–3 minutes (brief cool-down reduces splatter)
Lower the immersion blender all the way to the bottom of the pot before turning it on
Keep it submerged while blending — lifting it above the soup surface while it's running will spray soup everywhere
Move it around in slow circles and up and down until the soup is completely smooth
The whole thing takes about 30–60 seconds
I use mine constantly — soups, sauces, salad dressings, smoothies in a pinch. If you don't have one yet, this recipe alone justifies buying one. They're inexpensive and take up almost no drawer space.
What to look for: A good immersion blender has enough power to break down the squash without straining. Any immersion blender with at least 200 watts will do the job here.
Countertop Blender (Works Great — Just Take a Safety Step)
If you don't have an immersion blender, a regular blender gives you an equally silky result. The key is to not burn yourself — hot liquid creates steam that can blow the lid off the blender if you fill it too full.
How to do it safely:
Let the soup cool for at least 10 minutes off heat before blending
Work in batches — fill the blender no more than halfway each time
Remove the center cap from the blender lid and hold a folded kitchen towel firmly over the hole to let steam escape while you blend
Start on low speed, then increase to high
Blend each batch until completely smooth, then return to the pot
Stir everything together and add cream and lemon juice after all batches are blended
Pro tip:A high-powered blender like a Vitamix will give you an even silkier result than an immersion blender, if you have one. Worth the extra steps.
TIPS & NOTES
Don't skip the onion-softening step. Adding raw onion to the broth and boiling it gives a sharper, less developed flavor. The 5–6 minutes of sautéing first makes a real difference in the depth of the finished soup.
Taste at the end, not the beginning. The salt and spice levels will shift as the soup reduces and concentrates. Always taste after blending and after adding the cream, not just before.
The lemon juice is the secret. If your soup tastes like it needs "something" — it's the lemon. Even a half teaspoon more can transform a flat-tasting bowl into a bright one. Add it gradually and taste as you go.
Cut your squash the same size. Uneven cuts mean uneven cooking — some pieces will be perfectly soft while others are still firm. Aim for consistent 1-inch cubes.
Pre-cut squash is a life saver. Butternut squash is notoriously hard to peel and cut raw. The pre-cubed bags from the produce section or salad bar save 15 minutes and a lot of frustration. No shame whatsoever.
More broth = thinner soup. Less broth = thicker soup. If you want it thicker, use 3½ cups of broth instead of 4. If you want it thinner and more like a bisque consistency, add an extra ½ cup broth after blending. You're in control.
VARIATIONS
Coconut Milk Version (Dairy-Free / Vegan)
Swap the heavy cream for the same amount of full-fat canned coconut milk. Shake the can well before opening. The coconut flavor is subtle and pairs beautifully with the butternut squash and spices — it leans slightly tropical, which works better than you'd expect. Use vegetable broth instead of chicken broth to keep it fully vegan.
Spicy Butternut Squash Soup
Add ¼ teaspoon cayenne pepper and ½ teaspoon smoked paprika along with the other spices. For even more heat, dice half a jalapeño and sauté it with the onion at the start. The heat plays off the natural sweetness of the squash in a way that's genuinely addictive.
Roasted Butternut Squash Soup (Deeper, More Complex Flavor)
Toss the cubed squash in olive oil, salt, and pepper and roast at 400°F for 25–30 minutes until caramelized at the edges before adding to the pot with the sautéed onion and garlic. Skip the stovetop squash-simmering step and reduce broth to 3 cups since the squash won't release moisture during roasting. The flavor is deeper and more complex — worth the extra time if you have it.
Higher-Protein Version (Great for Meal Prep)
After blending, stir in ½ cup full-fat plain Greek yogurt instead of (or in addition to) the cream. It adds a tangy richness and bumps the protein up to around 12g per serving. Stir it in off heat so it doesn't curdle. You can also serve the soup topped with shredded rotisserie chicken for a full protein-forward meal.
Apple-Ginger Butternut Squash Soup
Add 1 medium peeled and chopped apple (Granny Smith or Honeycrisp) with the squash. Add 1 teaspoon freshly grated ginger with the garlic. The apple adds natural sweetness and a little tartness that reduces how much lemon you need at the end — and the ginger adds warmth that makes this version taste like fall in a bowl.
STORAGE & MAKE-AHEAD
Make-Ahead Instructions
This soup is ideal for making ahead. The flavor genuinely improves overnight as everything melds together. Make it up to 3 days in advance, store in the fridge, and reheat on the stovetop over medium-low heat, stirring occasionally. Add a splash of broth if it's thickened more than you'd like during storage (that is what I always do).
Refrigerator Storage
Store cooled soup in an airtight container in the refrigerator for up to 4 days. Let it cool fully before sealing — hot soup in a sealed container traps steam and creates condensation that dilutes the flavor.
Freezer Storage
Butternut squash soup freezes exceptionally well. This is one of the best soups to batch cook and freeze.
Cool completely before freezing
Freeze in airtight containers or zip-top freezer bags (lay bags flat to save space)
Freeze for up to 3 months
Leave an inch of headspace in containers — the soup expands as it freezes
One note: If you added Greek yogurt to the batch, that version doesn't freeze as well — the yogurt can separate when thawed. Freeze the base without the yogurt and stir it in fresh after reheating.
Thawing & Reheating
From frozen: Transfer to the fridge the night before and let it thaw overnight. Reheat on the stovetop over medium-low heat.
Quick thaw: Place the sealed bag or container in a bowl of cold water for 1–2 hours until partially thawed, then reheat on the stovetop.
Reheating tip: Stir in a splash of broth while reheating if the soup has thickened. Taste and re-season before serving.
Meal Prep Tip
This recipe makes a great meal prep batch. Divide into individual-serving containers after cooking, refrigerate or freeze, and you've got 6 easy lunches ready to go. Reheat one at a time, top with pepitas and a swirl of cream, and absolutely make the grilled cheese if you have time.
Frequently Asked Questions
Do I need an immersion blender to make butternut squash soup? No — a countertop blender works perfectly well. The immersion blender is faster and means fewer dishes, but both give you a silky, smooth result. If you're using a countertop blender, let the soup cool slightly and blend in batches, filling the blender no more than halfway at a time. Hold a folded towel over the lid to let steam escape safely.
Can I make butternut squash soup without peeling the squash? Yes, if you roast it first. Cut the squash in half lengthwise, brush with olive oil, and roast cut-side down at 400°F for 40–45 minutes until completely soft. Let it cool, then scoop the flesh out with a spoon — the skin comes right off and you skip the hard peeling work entirely. Then proceed with the recipe from the sautéed onion step.
Can I freeze butternut squash soup? Yes, and it freezes beautifully. Cool completely, store in airtight containers or freezer bags with an inch of headspace, and freeze up to 3 months. Thaw overnight in the fridge or in cold water and reheat on the stovetop. One exception: if you stirred Greek yogurt into your batch, freeze the base without it and add the yogurt fresh after reheating.
How do I make butternut squash soup thicker? Use 3 to 3½ cups of broth instead of 4, or simmer the soup uncovered for 5 minutes after blending to let some liquid evaporate. You can also stir in a spoonful of cream cheese or extra heavy cream for a richer, thicker consistency.
What do you serve with butternut squash soup? A grilled cheese sandwich is the answer, and my oldest will fight you on this. The crispy, buttery bread and melted cheese with the creamy soup is one of those combinations that's just right. Beyond that: crusty artisan bread for dipping, a simple green salad, or a side of roasted veggies. For a heartier meal, top the soup itself with shredded rotisserie chicken or stir in white beans.
Can I make this in a slow cooker or Instant Pot?Slow cooker: Add the raw squash, broth, garlic, onion (no need to sauté first), salt, and spices to the slow cooker. Cook on HIGH 4 hours or LOW 6–8 hours until squash is very tender. Blend, then stir in cream and lemon. Instant Pot: Sauté onion and garlic on the sauté setting. Add squash, broth, and spices. Cook on HIGH pressure for 8 minutes with natural release 10 minutes. Blend, then stir in cream and lemon.
Is butternut squash soup healthy? This version is naturally gluten-free, loaded with vitamins A and C, and high in fiber and antioxidants. One serving comes in around 220 calories. Swap heavy cream for coconut milk to make it dairy-free, or stir in Greek yogurt to boost the protein to around 12g per serving. It's a genuinely solid meal-prep option — warm, filling, and nutritious without being preachy about it.
Can I use frozen butternut squash? Yes. Frozen pre-cubed butternut squash works well here — add it straight from frozen, just extend the simmering time to 30 minutes to ensure it's completely tender before blending. Trader Joe's and most major grocery stores carry it year-round.
F YOU LIKED THIS, TRY THESE NEXT
If this soup earned a spot in your fall rotation, you're going to want these too:
Summer Chicken Pasta Salad with Champagne Vinaigrette — When soup season ends (tragically), this is the cold weather antidote. Bright, fresh, and just as make-ahead friendly.
Dill Pickle Chicken Salad Wraps — Serve alongside a bowl of this soup for the world's most satisfying lunch combo.
No-Bake Reese's Protein Balls — Finish the soup night with something that feels like dessert but isn't ruining anything.
Browse all Healthy & High Protein Recipes →
More cozy dinner ideas? Easy Weeknight Dinners →