The Saucy Spoon Cheesecake: Creamy, Salty-Sweet, and Totally Worth It
This version started as a classic New York cheesecake, but over time, I added a little more crust (because obviously), a touch of kosher salt for that salty-sweet balance, and a combo of sour cream and heavy cream for the creamiest texture ever.
It’s the kind of dessert that makes everyone pause mid-bite and go, “Wait… did you make this?”
Inspired by the New York Times Recipe!
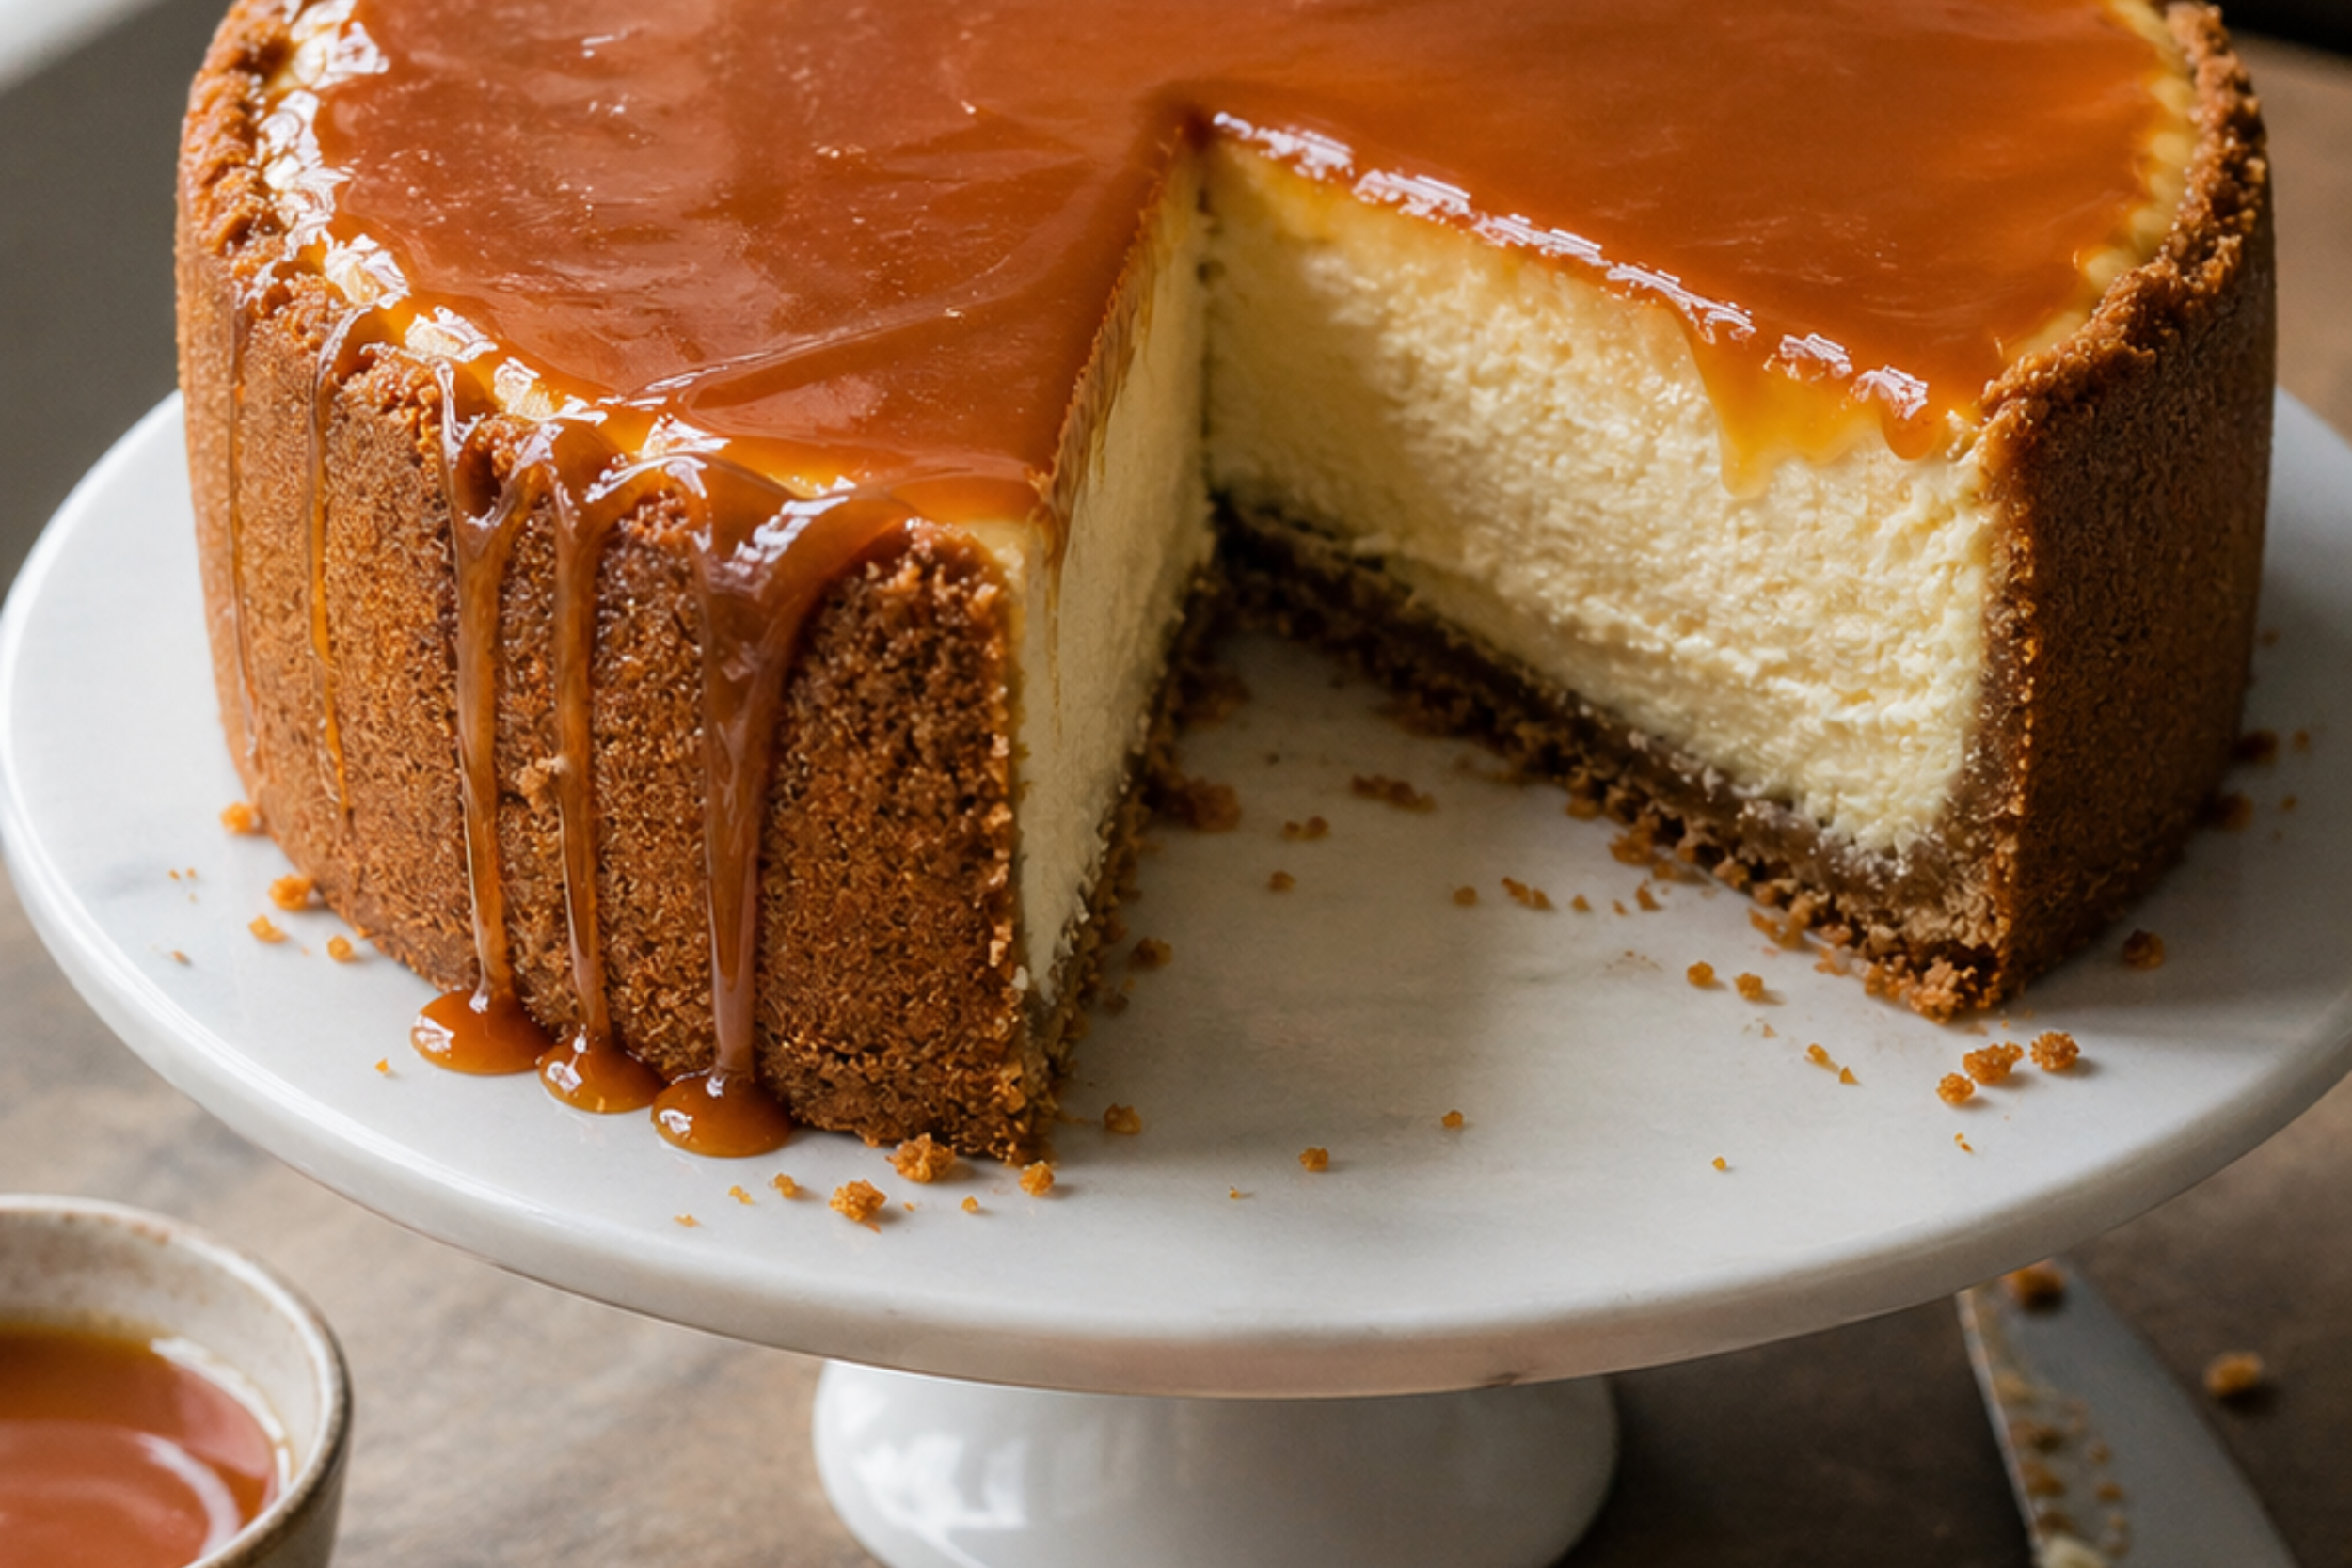
Ultra-creamy cheesecake layered over a buttery graham cracker crust and finished with a rich salted caramel drizzle—this is the kind of dessert that disappears fast.
What You’ll Need
For the Crust
2 cups graham cracker crumbs (yes, a little more than usual — trust me)
3 tablespoons sugar
A generous pinch of kosher salt
5 tablespoons unsalted butter, melted (you can go up to 6 if you like a thicker crust)
For the Cheesecake Filling
2 pounds (four 8-oz blocks) cream cheese, room temperature
1⅓ cups sugar
½ teaspoon salt
2 teaspoons pure vanilla extract
4 large eggs, room temperature
⅔ cup sour cream
⅔ cup heavy cream(or use all of one if that’s what you have — but the combo is perfection)
Tools That Make This Recipe Easier
You don’t need anything fancy to make this recipe—but a few key tools will make it way easier, cleaner, and honestly… turn out better.
These are the exact tools I use in my kitchen 👇
Springform Pan (Don’t Skip This One)
If you’re making cheesecake or anything similar, this is a game changer.
The removable sides make it super easy to get clean, bakery-style slices without breaking or sticking. Once you use one, you’ll never go back.
Get it Here- 👉 If you only grab one thing from this list, make it this.
Hand Mixer (For That Smooth, Creamy Filling)
You can mix by hand… but this makes everything smoother, faster, and way less work.
It helps prevent lumps and gives you that creamy, bakery-quality texture.
Grab it 👉 Especially helpful if you bake often or hate arm workouts while mixing
Mixing Bowls (Multiple Sizes)
Having a few different sizes makes prep so much easier—especially when you’re working with crust + filling.
I like using a set so I’m not constantly washing the same bowl mid-recipe.
Grab a set HERE
Silicone Spatula (Don’t Waste the Good Stuff)
This is one of those small things that makes a big difference.
You’ll be able to scrape every bit of batter out of the bowl (which means better results and less waste).
These are inexpensive and very multi-use! See ones like I use - HERE
Optional: Food Processor (Fast Crust Prep)
If you have one, this makes crushing graham crackers super quick and even.
If not, no worries—you can totally use a zip-top bag and rolling pin.
THIS ONE is under $40 and can be used for sauces, dips, and many other recipes!
Stand Mixer (Optional but Helpful)
If you make bread often, this saves time and effort when mixing dough.
👉I use a Kitchen Aid Stand Mixer- I love it! Take a peak
👉Alternative version, less expensive! Take a look
Little Tip
Using the right tools doesn’t just make this easier—it helps your recipe turn out more consistent every single time (which we love 🙌).
As an Amazon Associate, I earn from qualifying purchases at no additional cost to you—your support helps my family and this blog.
Prep the Pan
Butter a 9-inch springform pan with tall sides (about 2¾ inches high — trust me, you’ll need it).
Wrap the outside of the pan in two layers of foil so the water bath doesn’t sneak in later. You realllly want to make sure the water is not going to get in.
Build That Crust
In a medium bowl, mix:
2 cups graham cracker crumbs
3 tablespoons sugar
A generous pinch of kosher salt
Pour in 5–6 tablespoons of melted butter and stir until everything feels like damp sand.
Use your fingers or the back of a spoon to press it into the bottom and about halfway up the sides of the pan.
It doesn’t have to be perfect — rustic is charming.
Pop it in the freezer while you heat the oven to 350°F.
Bake the Crust
Place the springform on a baking sheet and bake for 10 minutes until fragrant and lightly golden.
Remove from the oven, sprinkle a tiny bit more kosher salt over the hot crust if you love that sweet-salt balance, and cool on a rack.
Then reduce the oven temperature to 325°F.
Make the Filling
Get your kettle going - you’ll need boiling water for the water bath. ( I use a bot of water, but they say use kettle- do whichever works)
In a stand mixer (or large bowl with a hand mixer):
Beat 2 pounds of cream cheese on medium until smooth and fluffy (about 4ish minutes).
Add 1⅓ cups sugar, ½ teaspoon salt, and 2 teaspoons vanilla. Beat another couple of minutes until light.
Add 4 eggs, one at a time, mixing on low just until each disappears. Don’t overbeat — air bubbles = cracks.
Stir in ⅔ cup sour cream and ⅔ cup heavy cream until everything looks silky and dreamy.
Give it one last gentle stir with a spatula to catch anything hiding at the bottom.
Set Up the Water Bath
Place your foil-wrapped springform pan inside a large roasting pan.
Pour the batter into the crust - it’ll come close to the rim (that’s how you know it’s good).
Carefully pour hot water into the roasting pan until it reaches about halfway up the sides of the springform.
Bake Low and Slow
Slide the whole setup into the oven and bake for about 1 hour 15 minutes.
The edges should be set and lightly browned, but the center should still give a gentle jiggle.
Turn off the oven, crack the door open with a wooden spoon, and let the cheesecake chill in its steamy spa for another hour.
Cool and Chill
Lift the springform out of the water bath (watch for hot water in the foil).
Remove the foil, and let the cheesecake cool completely on a rack.
Once cool, cover loosely and refrigerate for at least 6 hours - overnight is even better.
The patience pays off.
Serve It Up
Run a warm knife around the edge before releasing the pan.
For perfect slices, dip your knife in hot water and wipe it clean between each cut.
Serve plain, or add berries, caramel, or chocolate if you want to show off.
Storage Tips
Wrapped well, it keeps up to 1 week in the fridge or 2 months in the freezer.
To thaw, just let it rest overnight in the fridge while you dream of breakfast cheesecake.
Check Out These Amazing Desserts
Strawberry Crunch Cheesecake Cups (No Bake)
Sourdough Discard Chocolate Chip Cookie Bars
Shoney’s Strawberry Pie Recipe (Easy Copycat with Fresh Strawberries)